This is not a dig at the Data Recovery Tool in MiniTool Partition Wizard (MTPW). When I entitled this item MTPW Data Recovery works eventually, I only meant to observe that it takes FOREVER to recover the contents of a damaged or corrupted drive.
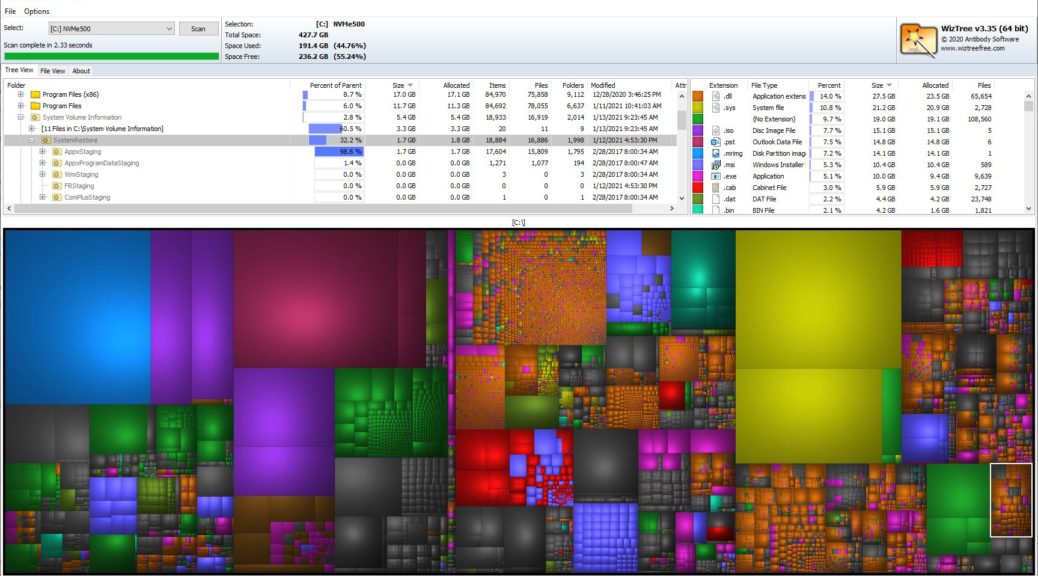
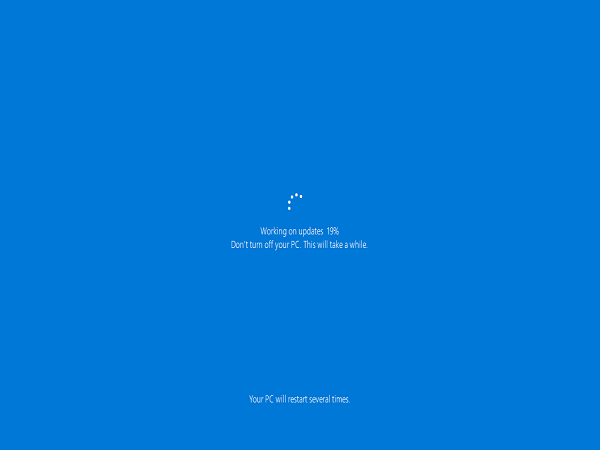
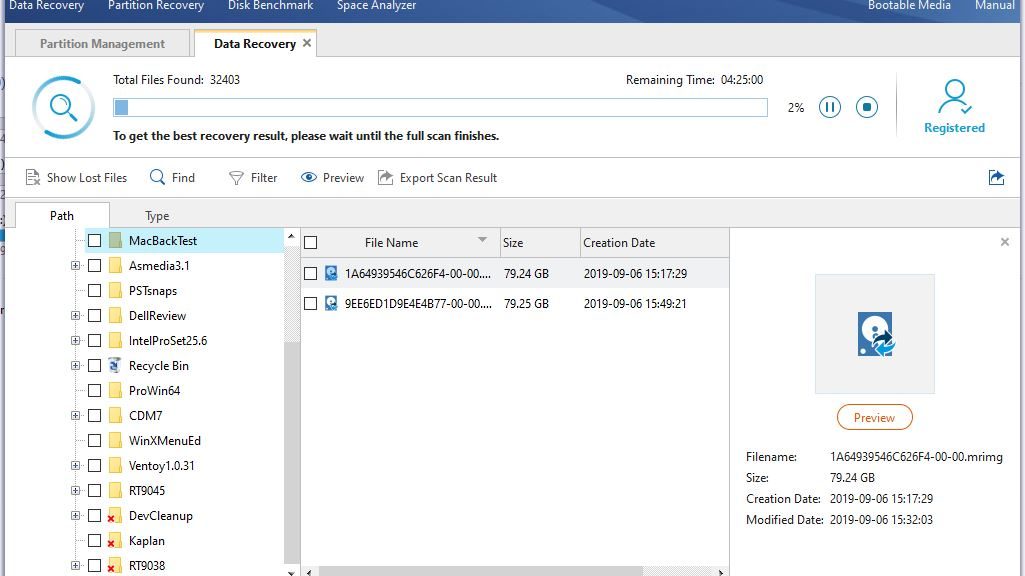
I just learned this the hard way, when something corrupted both drives in my Wavlink ST334U dual drive dock. One of the two drives involved was a Toshiba 8TB unit with approximately 4 TB worth of production PC backups. Thus, I really wanted to recover some — but not all, at north of 100GB per image — of those files. The lead-in screencap for this story shows Data Recovery scanning to recover the contents of the other drive. It’s a mostly disposable 500GB unit that incorporates two Samsung EVO m.2 SSDs into a pseudo-array on a Syba SATA adapter card. Note that it plans to take 4:25 to recover 207.17 GB in 4119 files.
How Long, When MTPW Data Recovery Works Eventually?
Hmmm. Let’s see 4:25 for 207 GB means 19.787 times longer to recover 4 TB. That’s roughly 89.4 hours. Which in turn is 3 days, 17 hours, and 24 minutes. Of course, that’s way too freaking long for most ordinary people to wait for the whole thing to complete. Especially me.
Turns out that you can manipulate the left-hand menu in MTPW Data Recovery, and instruct it to recover only the files you tell it to by clicking checkboxes. And, as it turns out, by expanding listing items with a plus sign (“+”) to their left. Eventually, you get a map of what the recovery utility finds on the drive, and can pick what you like.
In my case, I liked the following:
1. About 1.5 TB worth of the most recent backups
2. About 2.5 GB worth of legal work archives
3. About 124 GB worth of info snapshotted from a now-retired E: drive
Thus, of the 4-plus TB worth of holdings on that 8 TB drive, I decided to recover under 1.7 TB. How long did this take? Somewhere in the neighborhood of 30 hours. Long enough that, when I copied the recovered files from the 4 TB HGST drive I pressed into service to receive them back to their original home, that process took 2:43:00.
What About the Other Drive?
I let Data Recovery scan for about an hour, then checked over the drive’s contents. It’s always been a scratch drive, so I was able to confirm there was nothing on that drive I couldn’t live without. So, I quit out of Data Recovery and MTPW. Next, I opened Disk Management, where the drive showed up as RAW at full capacity with an E: letter assignment. I changed it back to its original M: assignment to produce this screencap:

With the right drive letter in place, I can recreate the drive.
[Click image for full-sized view.]
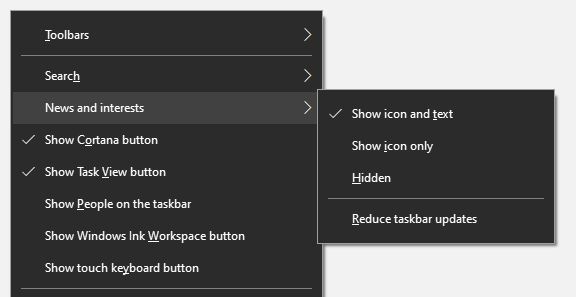
Next, I right-clicked on its box, and then selected “Format” from the pop-up menu. I named it Syba.5 (Syba dual SSD adapter with 0.5 TB of storage space, give or take). The formatting operation took a surprisingly long time to finish (almost a minute) with the following result:

Even on a Quick Format, it took almost a minute for this drive to format.
[Click image for full-sized view.]
OK, then. I guess I’m back in business. Now if I can only figure out what went wrong in the first place, so I don’t do this to myself again. Sigh.