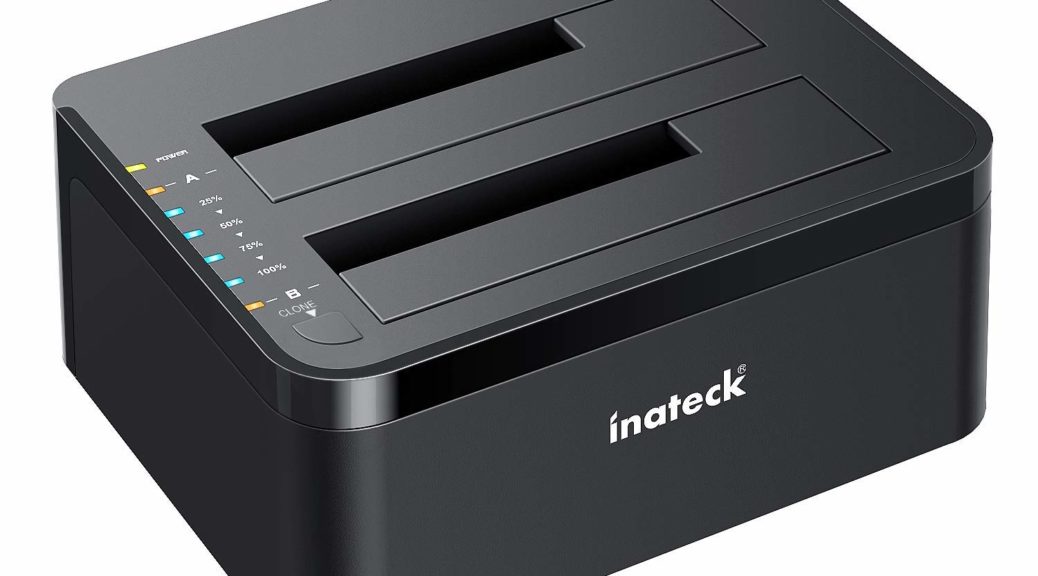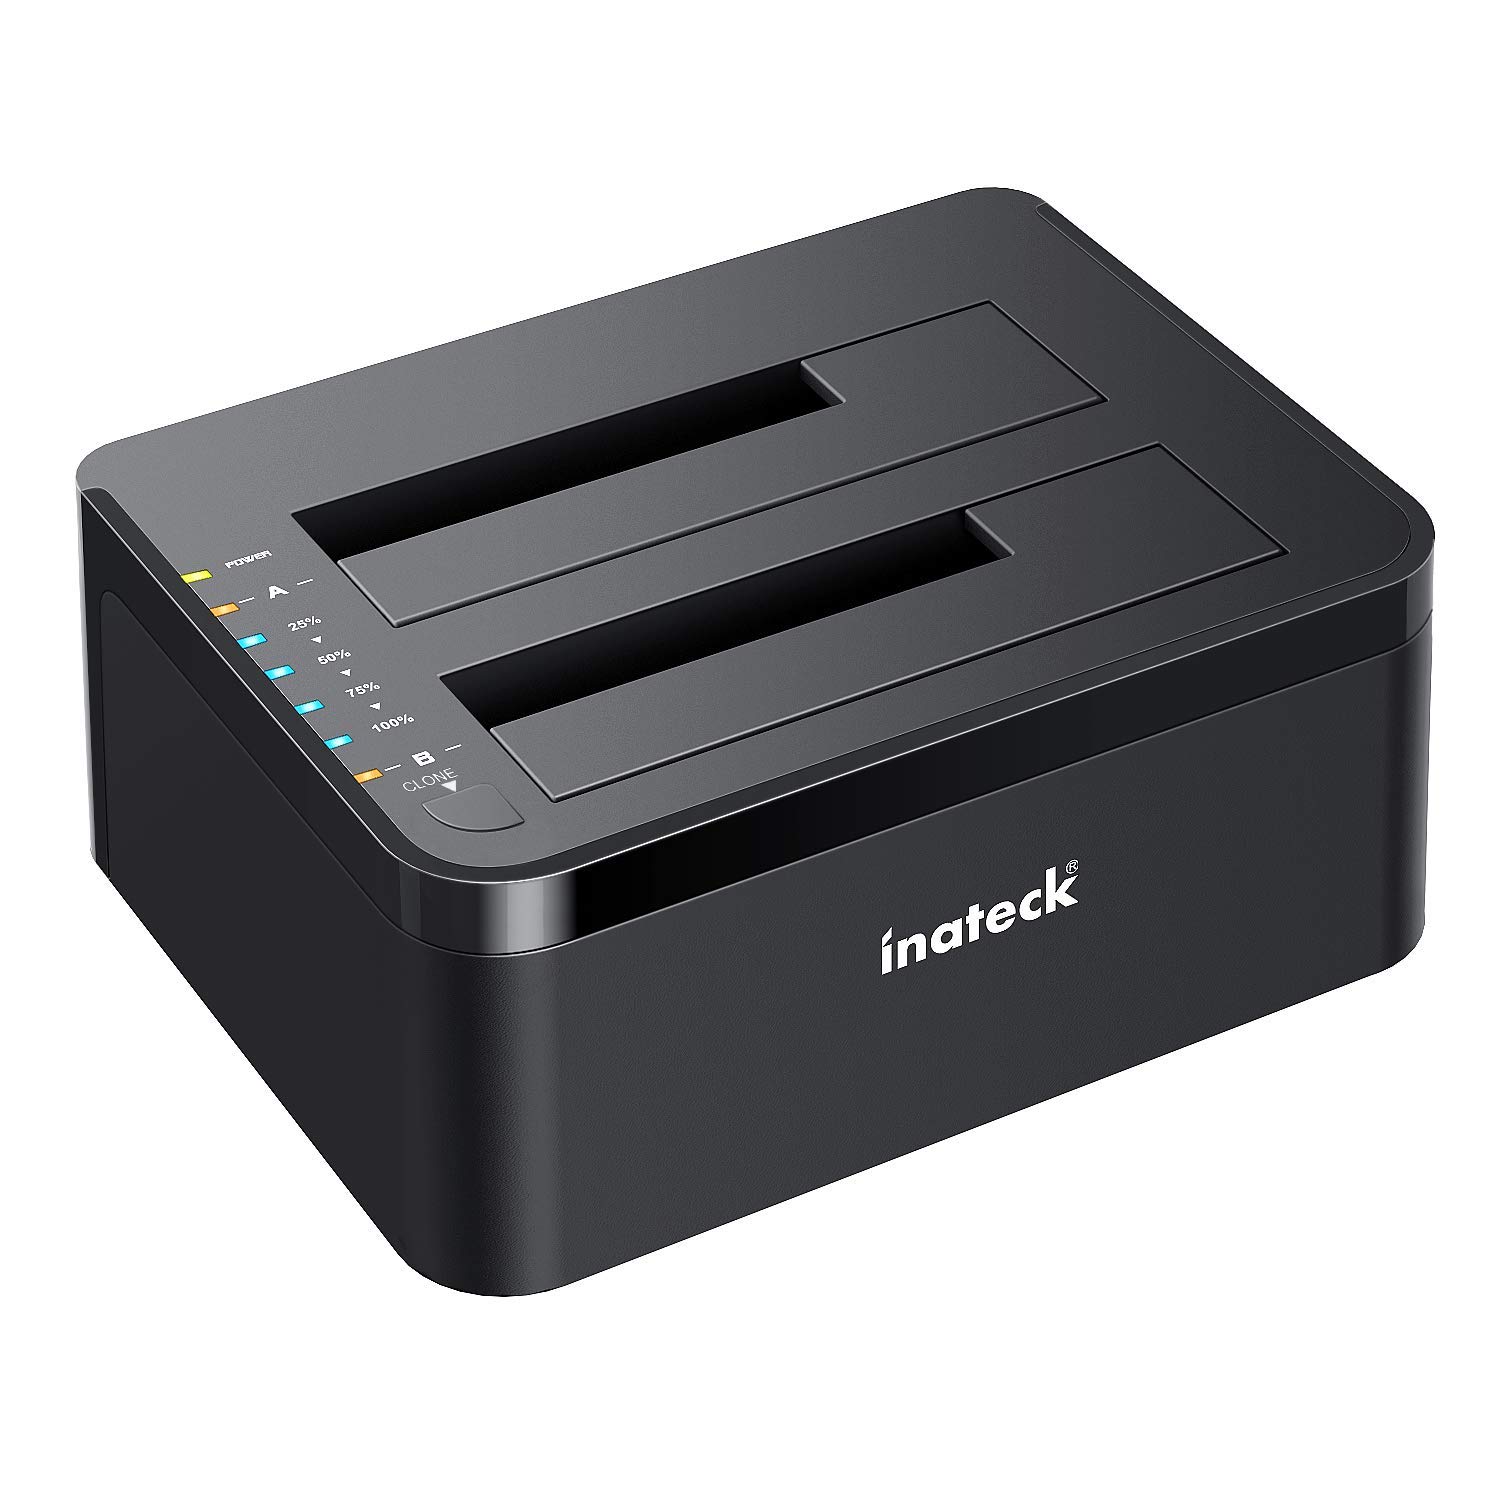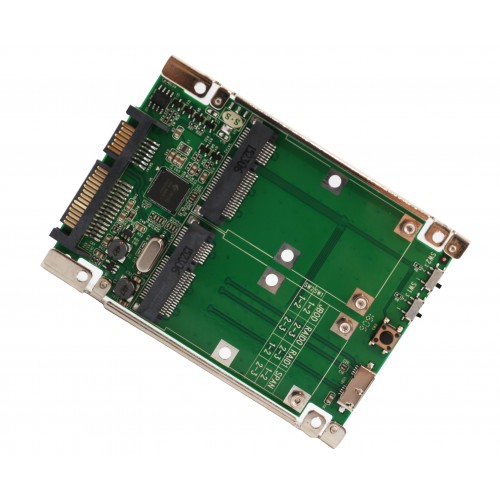
A few years back, I found myself with some extra mSATA Samsung EVO 250 SSDs on my hands. I purchased two Syba 2.5″ SATA 6G/USB 3.0 to Dual mSATA RAID (SD-ADA40107) adapter cards. I paid about $40 each (they cost $26 now). One of them has been terribly temperamental. Over time its plugged-in SSDs become unreadable. Seems like setting the card down on a conducting surface causes the drives to go bye-bye. (I don’t have it in a case, as I undoubtedly should.) This happened before on my Surface Pro 3, which sits on a set of (metal) baker’s racks. And today, when I tried to back up my Lenovo X380 Yoga Fast Ring test machine, its drives were once again MIA. Thus, I found myself with a temperamental Dual mSATA SSD cleaned up. Good thing I only keep throwaway data and backups on those drives. Fortunately, I didn’t lose anything I couldn’t recover from.

I’m guessing that the SSD devices somehow conduct to the rails on the case, and cause the drives to short out if grounded. Sigh.
How Temperamental Dual mSATA SSD Cleaned Up Happened
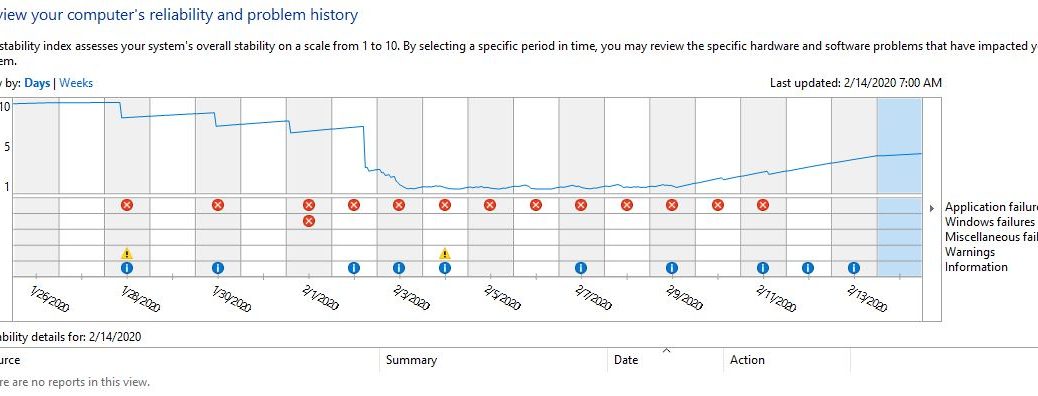
When I tried to access the devices I got a warning message that they were inaccessible. (I have them set up as JBOD, not RAID, so they show up as Drives E: and F:.) Having seen this before, I attempted repairs using MiniTool Partition Wizard 11. Alas, it couldn’t find anything to recover. So I went into DISKPART and ran a CLEAN operation on each of those drives. Then, I reformatted them as MBR devices using NTFS. They definitely ran faster after the clean-up: Macrium Reflect reports read speeds of 3.6 Gbps and write speeds of 2.6 Gbps for the most recent (and only) backup on the device now. (Of course, this is an artefact of the compression the program uses when accessing the drive: actual throughput isn’t really that fast, either coming or going.)
The funny thing is, I’ve got another one of those cards plugged into a drive caddy where it’s safe from accidental grounding. I’ve never had a problem with that one. So maybe — just maybe — it’s time for me to buy a 2.5″ case (which form factor the card matches exactly). Then, I can take care of the problem once and for all. But at least I got a refresher on DISKPART out of the deal, and the backups are now running lickety-split. (Elapsed time for the last one was 05:30 for a total of 28 GB of disk space consumed.) That’s the way things go here in Windows-World sometimes, where even backups need occasional backups. Would that I could so easily cure my tendency toward operator error!