One of my favorite things about Windows made the scene in 1995, with the debut of Windows 95. It’s called Plug and Play (PnP) and it lets the OS detect and configure hardware devices automatically. It has made using Windows peripherals much, much easier than it was in the old days before PnP came along. This strongly contributed to a sense of shock and abandonment the other day, when a Jabra 75 headset driver disappearance delayed an attorney phone call for troubleshooting. Sigh: let me explain…
What Caused Jabra 75 Headset Driver Disappearance?
USB devices, particularly audio ones, involve a whole series of nested drivers. This runs the gamut from the audio device itself, to the USB hierarchy, to the Intel Smart Sound driver (which works between the device and the USB port to manage specific audio formats and functions). Some recent update to Windows 11 on my Lenovo ThinkPad P16 Mobile Workstation broke this complex chain somewhere in the middle.
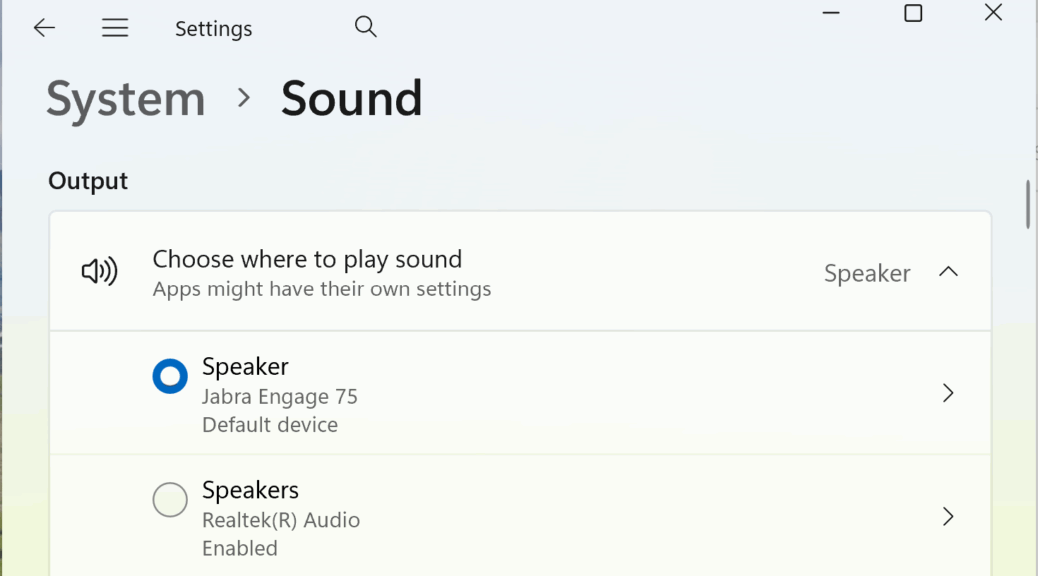
How did I know? PnP quit working. Normally, I just plug the USB cable into a USB-A port on the P16, and audio switches over from its built-in speakers and microphone to the Jabra 75. I use it most especially for video calls, where clients need to see me as well as hear me (e.g. speaking engagements, webinars, depositions, and so on). When plugging-in resulted in “no play,” I knew I had a problem. Fortunately, it was easy to fix.
Plug and No Play Means Reinstall Driver
I visited the Jabra website, where I had to figure out what I needed was a new copy of the Jabra Direct software. With that downloaded and installed, and a fresh reboot to make sure everything registered properly, play immediately followed plug-in when I inserted the USB connector from the headset base to the P16. Problem solved!
But it took me a few precious moments to figure this all out, and then to fix it. In the meantime, I switched over to my production desktop where the driver was already installed and working properly (it’s the new build, so it got a new driver after the offening update, apparently). The client couldn’t see me (no camera on that rig) but we did complete the call. They hired me for an expert engagement, too, so I guess it didn’t go too badly.
Here in Windows-World, one must always be ready to adapt and overcome. So that’s what I did.