I went down a number of dead ends yesterday, trying to restore WinGet to proper operation on my Flo6 AMD desktop. One of the more interesting and frustrating alleys I banged around in involved building bootable recovery media for Windows 11. At first, I tried to get Copilot to steer me through, but found myself wandering in circles. So I turned to the built-in RecoveryDrive.exe tool. Diving into recovery media rabbithole took longer than I wanted, but gave me what I needed. I’ll explain…
Diving Into Recovery Media Rabbithole Requires Escape
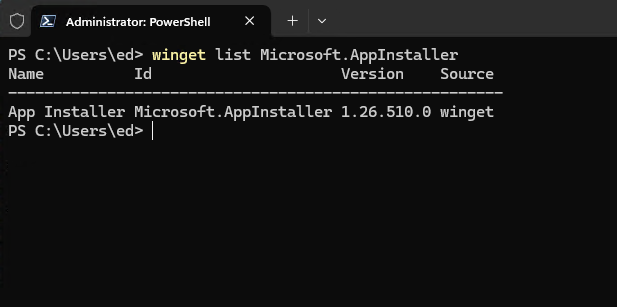
Copilot had me formatting two partitions (UEFI: 1024MB; NTFS: rest of UFD), copying files, creating boot configuration data, and more. Only problem I had was that creation and management of the runtime environment ramdisk kept falling over sideways.
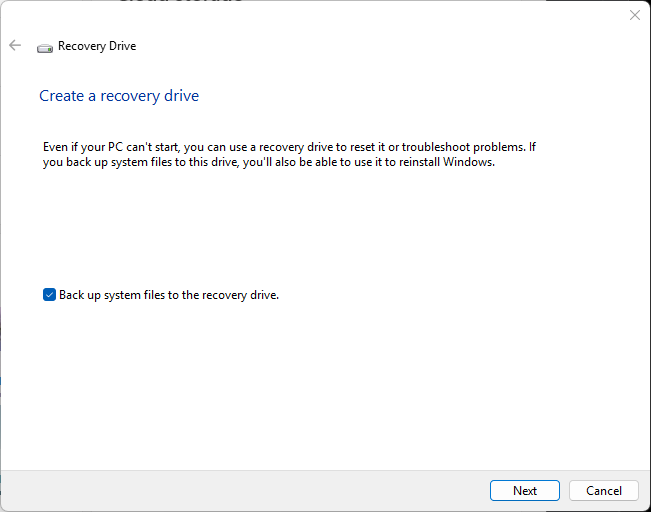
After my third failed attempt to create such a drive from scratch, I turned to the built-in Recovery Drive facility inside Windows 11 itself. (Visit Settings, search for “recovery drive” and it’ll take you right there.) This took a long-ish while to complete (about 45 minutes, all told). But it did what I needed it to do, and let me attempt AppX provisioning and repairs on a quiescent Windows image. That didn’t work out so well for me, but it did make it possible for me to learn some new PowerShell and Command Prompt tricks. I even got a couple of chances to dig into Safe Mode boot on my production desktop.
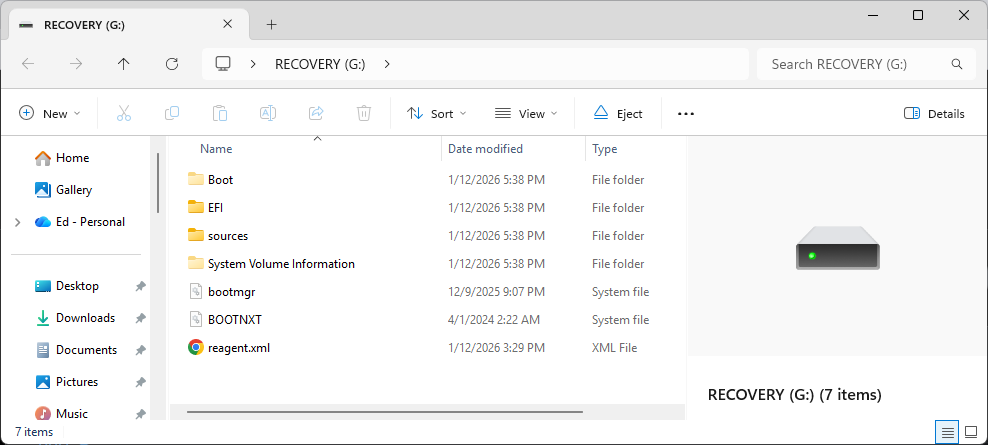
File layout for the Recovery Media looks like a typical Windows Setup disk (it can do that, too).
Desktop Fights Alternate Boot-ups: I Fight Back
At first, I was a bit stymied by the unwillingness of the Windows repair boot screen to field function keys (F1 for UEFI, F11 for boot menu, and so forth). But after a while, I learned how to work around those hurdles. Msconfig came in handy for getting into Safe Mode, while various flavors of the shutdown command let me access UEFI, alternate boot options, troubleshooting menus, and more.
The day was not a total loss, but it did throw me behind schedule on some project work. Today, I’m nosing the grindstone as I start to catch up. And isn’t that just the way things too often go, here in Windows-World?