You’d think it would be dead easy. And to be fair, on some motherboards it is. But popping (or replacing) a CR2032 3V coin battery — especially when resetting CMOS — has its hurdles to overcome. At my age, clear visibility can get interesting. Then, there’s often limited space inside the PC case to reach the darn thing. In dealing with recent Secure Boot (and related CA 2023 boot certificates) recently, I’ve been reaching for the CMOS battery rather more often than not.
OK, Resetting CMOS Has Its Hurdles: Name Some…
Beyond the two already noted (visibility and space), I also bumped into various other impedimenta, including:
- Removal techniques: new sockets may not yield to a fingernail, so I found a small flat-head jeweler’s screwdriver helpful
- Timing: most guides say to leave the PC alone after popping the battery for anywhere from 10 seconds to 5 minutes. I made sure I had something else to do before removing the battery and erred on the “too long” side of things. Seemed to work.
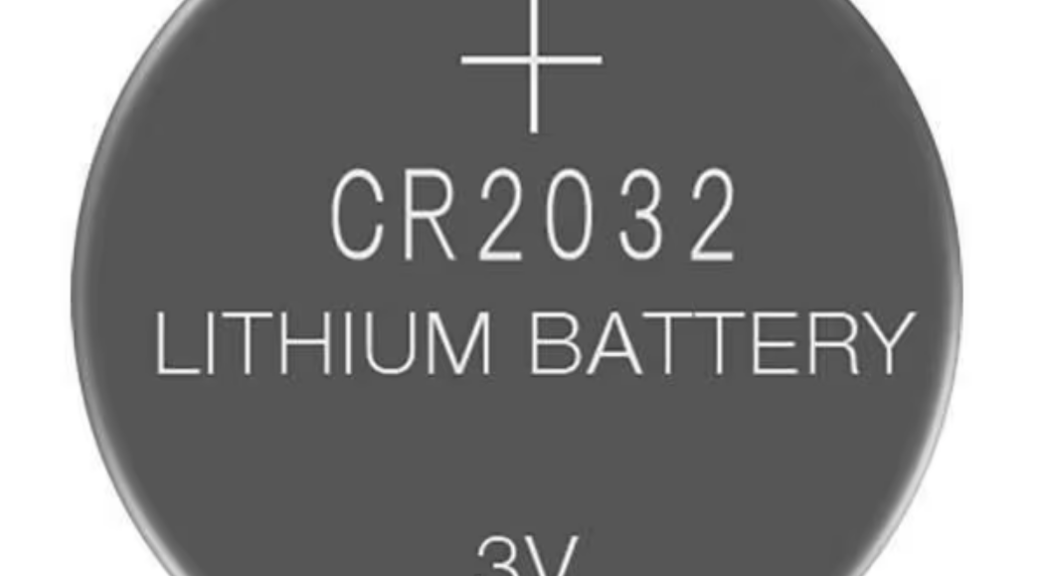
- Reinsert the old or replace with a new: If it’s been more than 3 years since I replaced the battery (or I can’t remember) I’ll replace rather than reinsert a CR2032. They typically cost US$5 or less, so if I have to remove it anyway, why not replace it, too?
- Making room: On at least a couple of desktops, I have to remove the GPU just so I can SEE the CMOS battery holder. On any given laptop at least one deck has to be removed; sometimes other assemblies (e.g. keyboards or storage modules) must also go.
But when a PC goes truly off the rails — especially when BIOS or UEFI becomes inaccessible or non-responsive — a CMOS reset can often set things back to rights. That’s why I find myself digging for my replacement stash from time to time, so I can put a fresh one in to replace the older one at the same time.
Nothing says resetting CMOS has to be easy, here in Windows-World. But lots of times, it’s a necessary step in the troubleshooting process. So it goes…