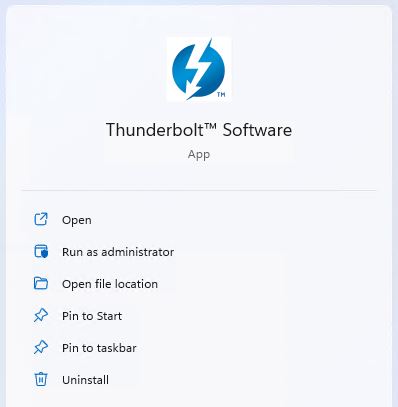
At first I thought “Catch-22.” Those using PCs old enough to run Intel’s Thunderbolt Software have reason to ponder Heller’s famous catch. An updated replacement — namely, Thunderbolt Control Center — is available from the Microsoft Store. But if you run Thunderbolt Software, it doesn’t show up there. Nor is there an easy upgrade path. That’s why, in fact, I had to come with a Thunderbolt Software upgrade strategy.
Finding a Thunderbolt Software Upgrade Strategy
All I can say is “I got lucky.” I chose as my search string to dig into this topic “Thunderbolt Software vs. Thunderbolt Control Center.” It immediately struck gold in a Forum post from Mac/PC oriented website egpu.io. There, those same terms appeared in inverted order.
There’s a trick involved in making this upgrade. It works as follows: if one downloads newer DCH drivers for the Thunderbolt device in DevMgr → System Devices, updating that driver causes Windows 11 (or 10, for that matter) to update the related software automatically. It’s actually pretty easy. I’m going to upgrade my remaining holdover system (one of my Lenovo X380 Yogas, acquired in late 2018) and take you through the steps involved.
NOTE:For a Thunderbolt device to show up in DevMgr, you may need to plug in an actual Thunderbolt or USB4 device. That’s what I had to do on each of my three 2018 vintage systems that needed this upgrade.
Making the Transition, Step-by-Step
Step 1: Visit this Intel Download page and download the ZIP file available there. Don’t be put off by the NUC notation: I’ve run in on a Yoga 380 and an X1 Extreme, and it worked on both systems. It seems to work on any Intel Thunderbolt controller.
Step 2: Unzip the file into a target directory. I named mine TBdev to make it easy to identify.
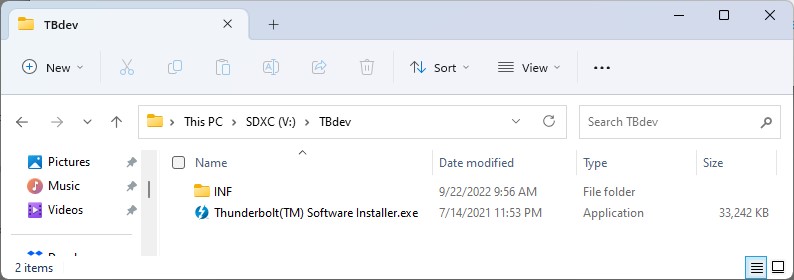
Contents of the ZIP file in the V:\TBdev folder. The INF folder is where the action will be.
Step 3: Open DevMgr, navigate to the Thunderbolt controller, right-click, and pick “Update driver.” In the resulting pop-up window, pick “Browse my computer for drivers “(lower item). Browse to your TBdev\INF folder, as shown here, then click “Next.”
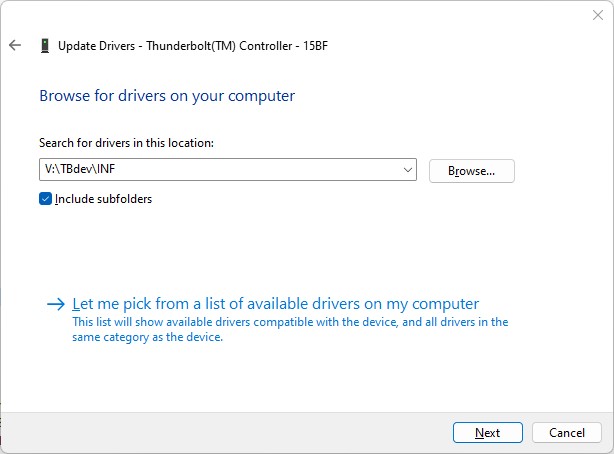
Click “Next” and the driver should update itself from the various files in the INF folder.
If this process succeeds, you’ll see something like the following Window appear.
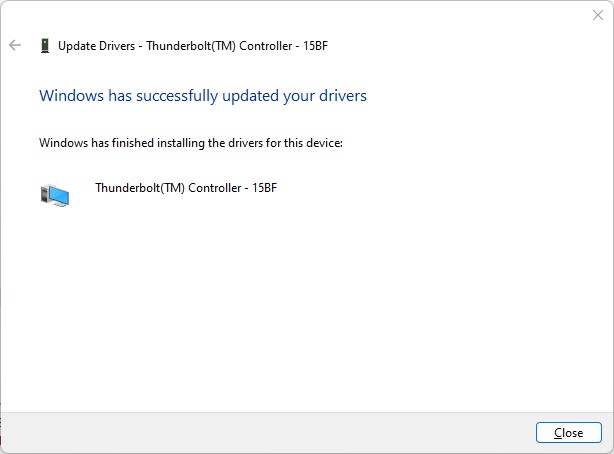 Guess what? If this worked, you’re finished. Windows will now visit the MS Store on its own and install the Thunderbolt Control Center app for you. Until you next reboot your PC, you’ll see both the old software and the new side-by-side if you type “Thu” into the Windows 11 (or 10) search box:
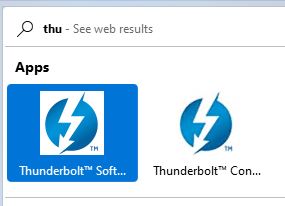
Old (Thunderbolt software) on the left, new (Thunderbolt Control Center) on the right. Only TCC will work, tho…
After the next reboot, Thunderbolt Software no longer appears. Case closed!