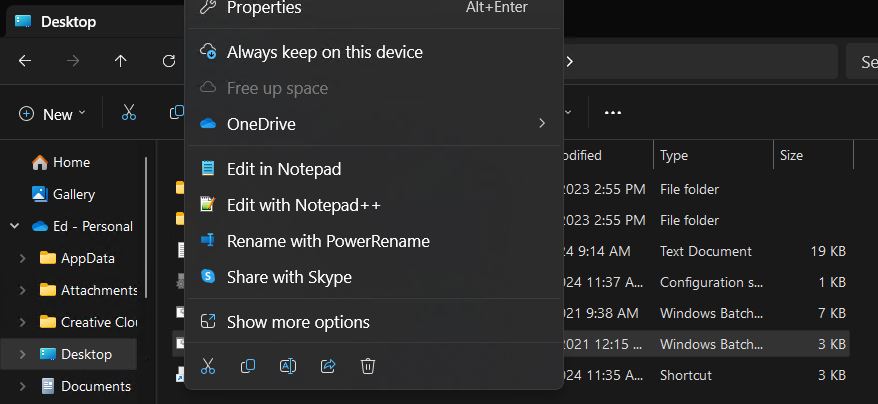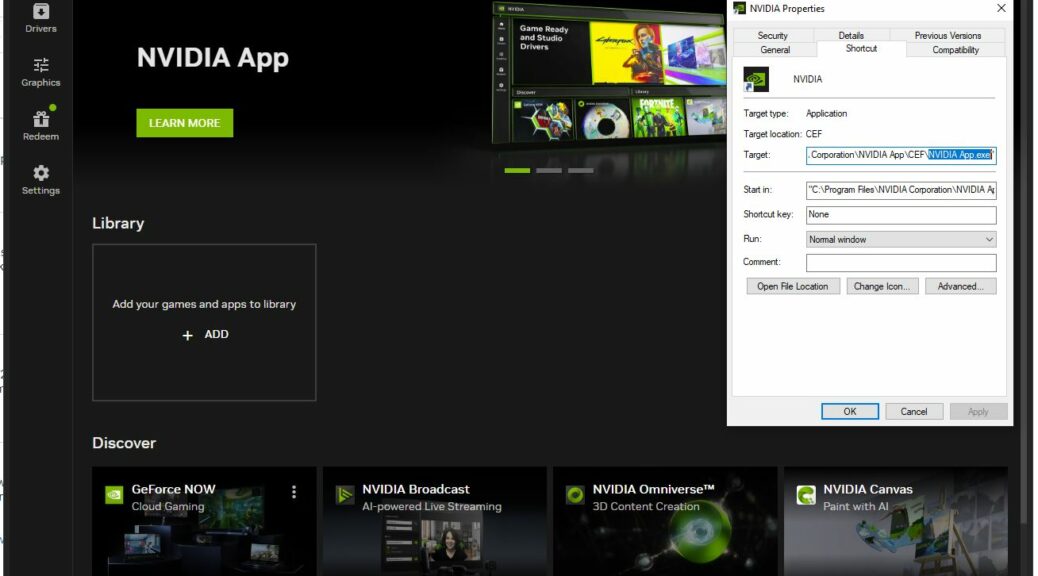
OK, then. Through what I can only describe as a bitter irony, the only desktop that I own with enough space in the case for a GeForce RTX 3070 Ti is my aging i7-6700 Skylake build. It’s too old to meet Windows 11 system requirements so it’s running Windows 10. Even so, I put it through its paces just now, while exploring new NVIDIA beta app (NVIDIA App.exe). Its home page, with the exe file properties page overlaid, provides the lead-in graphic above.
What Exploring New NVIDIA Beta App Tells Me
If you visit NVIDIA’s “Test Drive” page for this beta software you’ll find a concise summary right next to the download link for same. It reads:
The NVIDIA app beta is a first step in our journey to modernize and unify the NVIDIA Control Panel, GeForce Experience, and RTX Experience apps.
Indeed, the driver update and subsequent desktop behavior is unchanged. I used the beta sofware to update my RTX 3070 Ti to version 551.61 (Rls 2/21/24). Just like GeForce Experience did, it changed all RDP windows from maximized to “fill entire pane.” It also moved all open windows from my (secondary) left-hand screen to the (primary) right-hand screen. Easily cleaned-up but I wish they’d change the code to capture home screen info and restore it at or near the conclusion of the driver install.
The NVIDIA Control Panel is indeed gone from Control Panel, though. Its functions are now integrated into the Beta app. I believe that’s a positive step. NVIDIA also mentions
a redesigned in-game overlay for convenient access to powerful gameplay recording tools, performance monitoring overlays, and game enhancing filters, including innovative new AI-powered filters for GeForce RTX users.”
I’ll have to turn this rig over to my gamer son when he’s home for Spring Break next week and see what he thinks of the gaming stuff. I’m no gamer myself (except for card and board games which exercise none of these advanced capabilities).
What About That New Software?
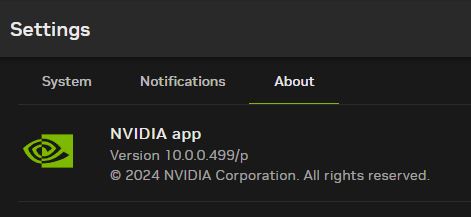
The beta software kicks off with a new version number of 10.0.0.499/p. So far it seems mostly like a stitched-together version of GeForce Experience and the Control Panel Item. But then, I can’t appreciate the game stuff. We’ll see how it all plays out. It’s undoubtedly more convenient to find everything together, though, so I’ll give NVIDIA brownie points for consolidation. The rest is still TBD. Stay tuned…